

N62 Z3 Part 6: More Wiring & Fuel
- Sep 18, 2020
- 6 min read
Updated: Oct 26, 2024
The first part of this update was spent digging through wiring diagrams to ensure all my wire gauge was appropriate. In doing so I also figured out what that "mystery" red wire was on the IVM - the one I have set on a separate circuit. It requires 60a on the E53 but 50a on some other models so I will start with a 50a and upgrade if needed
I also ordered a lot of stuff... a bunch of wire to finish everything up once the pins arrive... 22 through 8 awg, as well as heatshrink, loom tape, battery cable end terminals, all the pins I need and some of the harnesses I need. However, one of the harnesses I needed is NLA from BMW and the manufacturer part number is "restricted access" meaning I need permission from the manufacturer to order them. So that kind of reached a dead-end but I only need one pin off that harness so I will likely end up moving the pin I need into another harness with an empty slot

Then another run to a different junkyard looking for the other connectors I wanted. I didn't find anything at all there so went to the other local yard and grabbed the CPS off the 745i I had previously scavenged the crankshaft sensor off of and got that installed

Now the engine harness is fully plugged in except the alternator. The wiring is almost done, although I do also need to run the main power cable between starter, alternator and main positive supply. I also need a power supply cable to the fuse box (the stock Z3 engine harness runs a power supply cable across the engine compartment)
In any case the wiring isn't too far from being wrapped up, so I am going to focus next on the fuel system stuff. I haven't even checked my M54 parts car fuel lines yet but I do have a hunch they are destroyed from being dragged up my trailer when I picked the car up. I will take a close look soon to see if they are usable but if not I may be bending a second fuel line
I also need to figure the cooling system routing out - but that isn't urgent. Although upon initial inspection it seems pretty close to the Z3 M54 setup. The N62 has one outlet at the back to the heater core, just like the M54. The way the Z3 is routed is the heater core has an outlet to the heater core valve and the valve supplies coolant to the heater core from the expansion tank. The expansion tank has a return to the engine. This seems to possibly be how the N62 is routed, as I see a second coolant inlet port on the water pump - however it is capped on this engine. I know on the M54 the return from the expansion tank basically feeds directly to the water pump (specifically - it feeds into a plastic coolant pipe, which feeds into the water pump), so it would seem logical for the equivalent of this line to route to the water pump directly on the N62

I went camping over the weekend and when I came back I had a bunch of stuff at the door...
Not everything I ordered sadly, still waiting on a few pieces to finish the wiring... but a good chunk of it arrived. It's nice to have some extra pins just for good measure

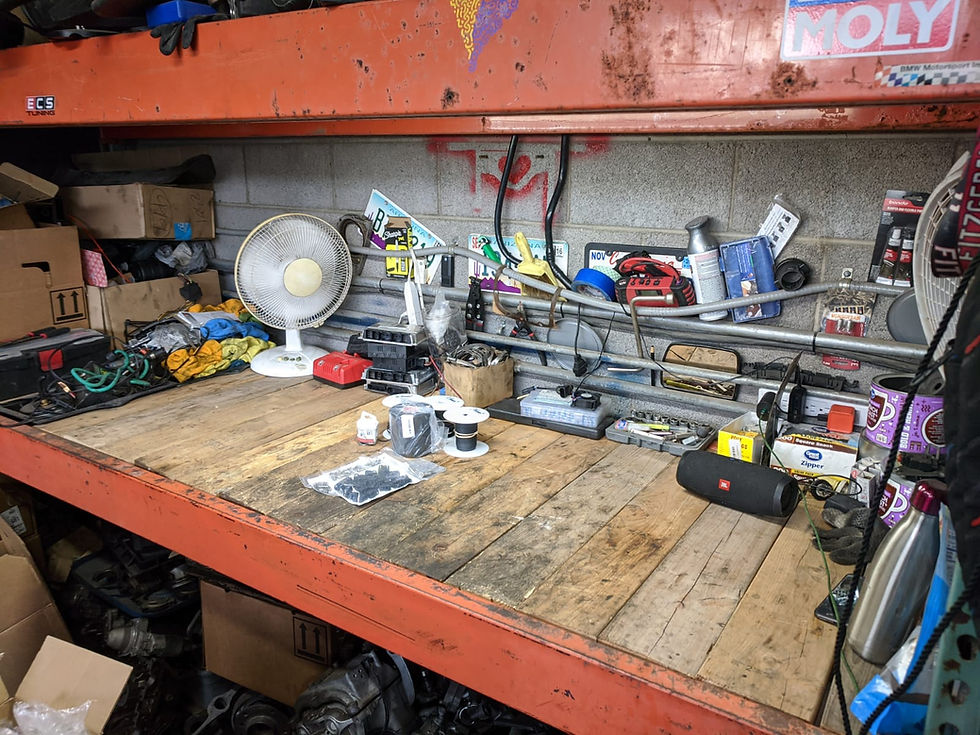
I then decided to clean my workbench. Not really swap related except that everything on the bench was basically swap stuff
Anyways. I then spent the day working on the fuel system stuff
Below is what I was starting with

The M52TU system uses a fuel pressure regulator mounted after the filter and two lines going to the engine - a supply and a return. The N62 uses a fuel supply like the M54, with a fuel regulator integrated into the filter and a return line coming out the back of the filter, with a single line to the engine
So the first step was to remove the M52TU stuff - I removed all the stuff I didn't need and kept it intact as there was really no reason not to. The fuel filter, regulator, engine supply/return lines and main return line were removed

Then I inspected the M54 Z3 parts car... got a little lucky I think, none of the lines were damaged! The fuel filter got a little damaged - the piece that holds it on must have gotten caught, as it was mangled and it bent into the filter. But it will work for mockup purposes

With that removed, a comparison of the M54 and M52TU fuel filter/supply systems. The M54 system is pictured without the single engine supply line or the supply line into the filter

I also got a better condition charcoal canister bracket off the parts car

And installed, minus the engine supply line

I used some extra fuel line to bend a supply line as well but it wasn't quite long enough to go where I wanted it to. I will end up routing the final line in a different way anyways - along the firewall instead of following the brake lines

Still a long way to go but getting closer to attempting a first start. I have also heard from the person working on my gauge cluster that it looks like it is possible to adjust the tach for the V8 signal so it reads correct RPM. My tuner also seems optimistic about things - the DME has been able to be set to "manual transmission" setting and is reading the VIN number of my car. It also looks like it should be able to be aligned to my stock EWS module, so it will all be integrated like OE, at least it is currently looking like it should be possible (knock on wood!)
Next I wanted to play with my new toys so I finalized the routing of this harness and started running some wires, replaced as many spliced wires as I could and wrapped it all neatly in loom tape, being very mindful of where each plug needs to terminate

Continuing on...

And this is essentially what the adapter harness ended up looking like. This is not all of it, but definitely "most" of it

And then I went ahead and mounted the distribution block on the outside after trimming it down

The stock battery cable to the positive terminal will remain in place. The red cable coming off the IVM in the above picture will bolt onto the back of that positive cable. The IVM has an outlet 90 degrees to the right of where the current red cable is feeding into. I will feed the engine power cable out of this outlet. The fusebox will be powered the same way as factory with a cable running from positive terminal to the fusebox
Oh my de-pinning tools I bought also don't work for the round pins I need to de-pin. Sooo I bought a Genuine BMW tool... $60 for a freaking depinning tool but hey, sometimes you gotta pay to play...

The wiring is very close to being done at this point (though how many times have I said that by now?). It's felt until now like every time I crossed one hurdle with the wiring it only revealed more, bigger hurdles. But now I think it's all finally figured out. I was even able to fit the DME, Valvetronic DME and IVM in the DME box like I wanted to. It's pretty tight, but it fits...
Oh on that note, I also drew out my own wiring diagram from scratch, to show the routing of all the wires on the harness I made yesterday, as well as the DME and IVM harnesses I've modified. So if I need to trace anything in the future, I can easily do so. I will even probably spend some time today learning how to plot it out neatly on Adobe Illustrator, so I can do things like change the color of individual wires and have a clean electronic version of it to save with my other notes
I am very close to a potential test start. I've decided I am not going to mount the engine for a test start except to bolt the transmission in. For now just going to keep putting one foot in front of the other!


Comments