

N62 Z3 Part 20: Brake Lines & Paint Prep
- Aug 26, 2021
- 9 min read
Updated: Oct 25, 2021
Before I could start painting I had to double check if there were any more brackets I wanted welded in... and I did want that ABS module mounting bracket so I cut one out of my parts car and welded it in

It's a tight fit


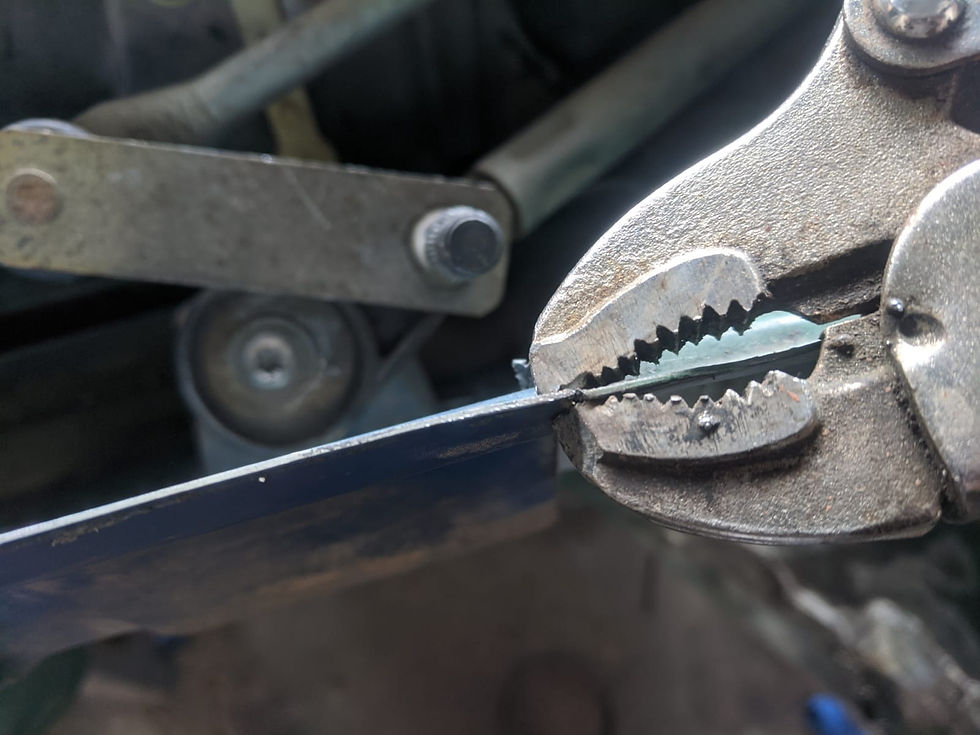
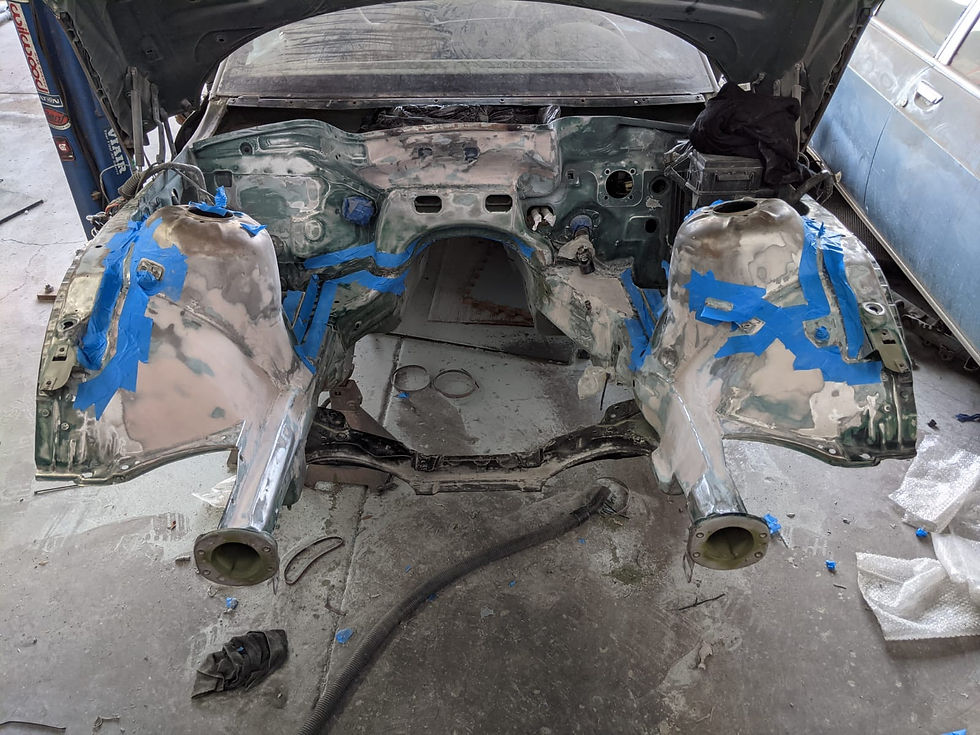
I think it'll work though. Onto flaring the lines, these are bubble flares and for simplicity sake I am re-using the flare nuts from the stock lines

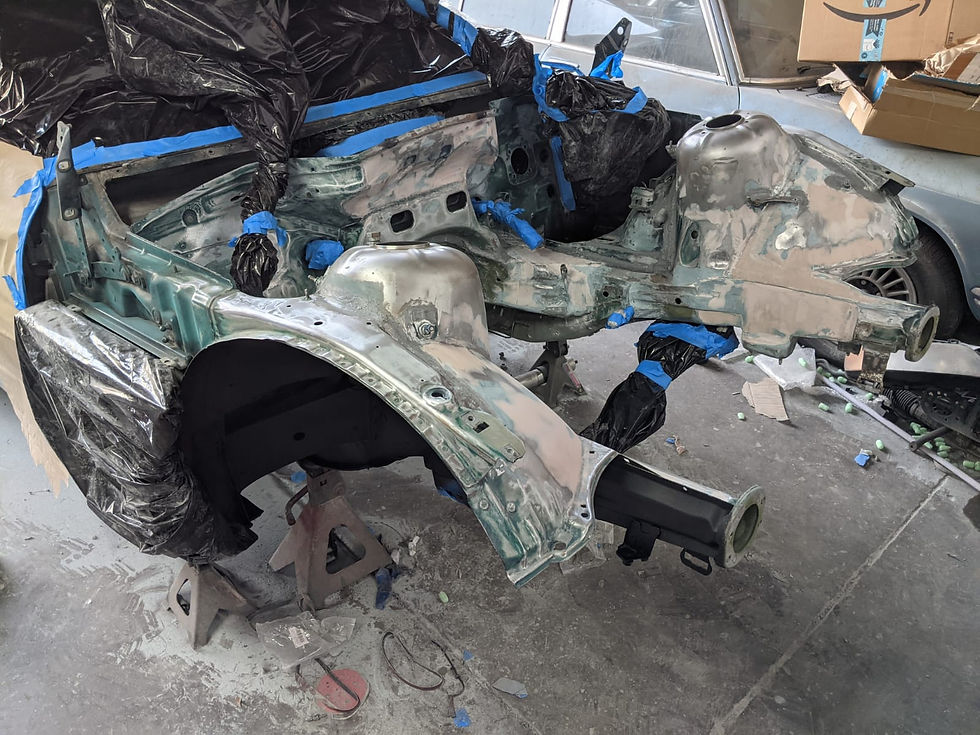
The rest of the tools for this job

First line done...

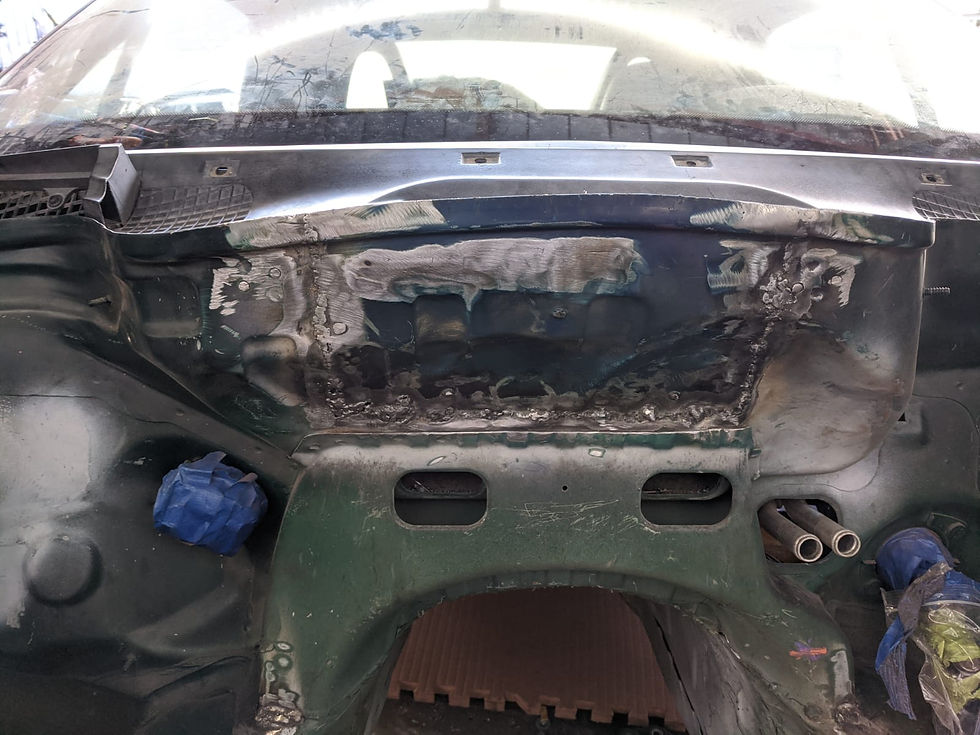
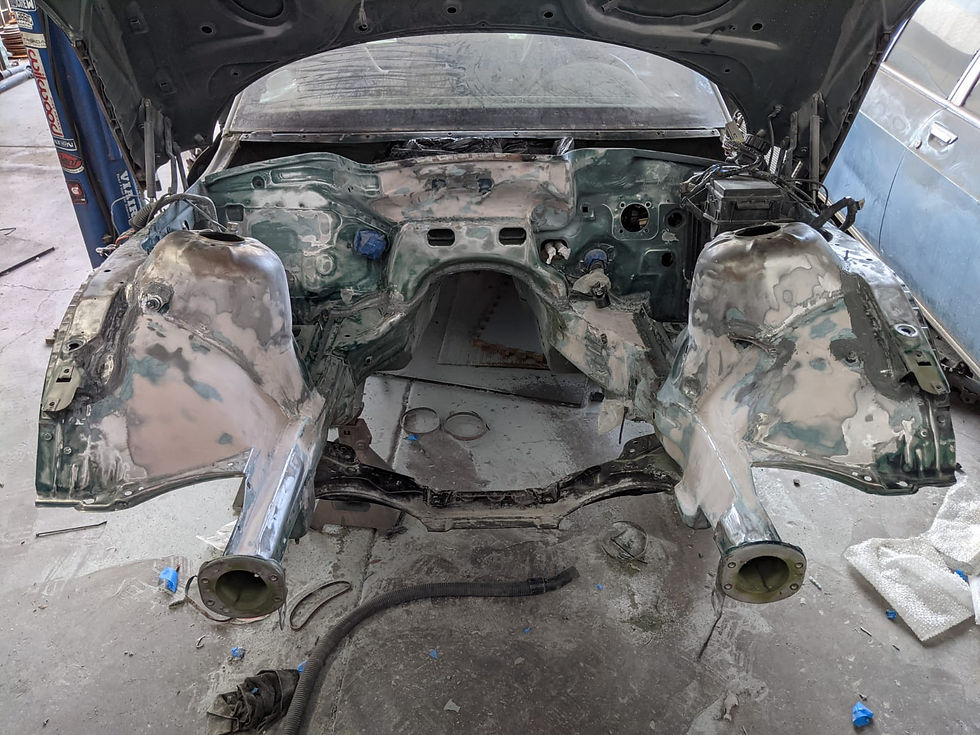
The line that has been annoying and ugly for so long is this one running across the firewall... I should have just taken it out ages ago to be honest
How I have them bent in the wheelwell

I did bend the rears too but I didn't like how they looked in the end so I am probably going to redo them (they are routed better than they look though, they are just not attached in the rear so sitting loose)
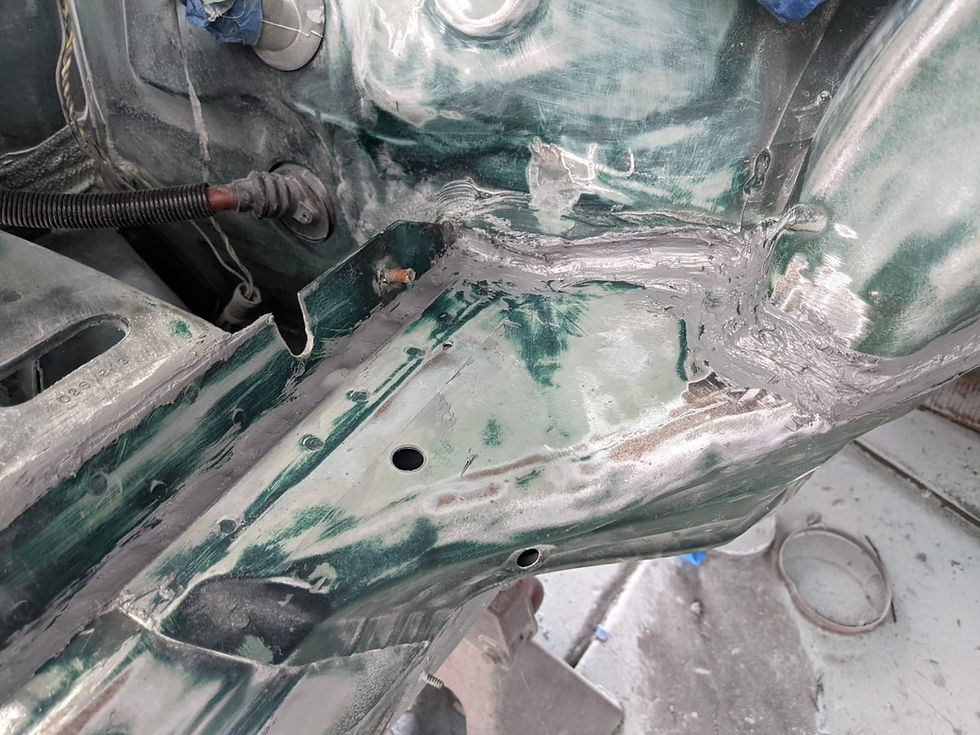
Then I made a little "pocket" for those lines to run through

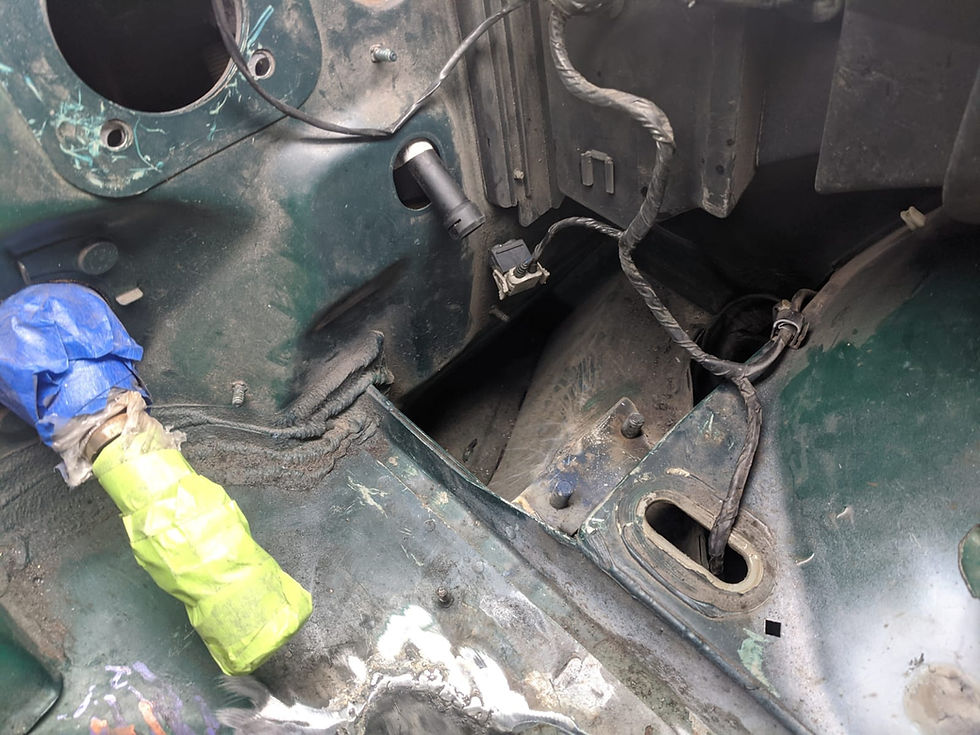
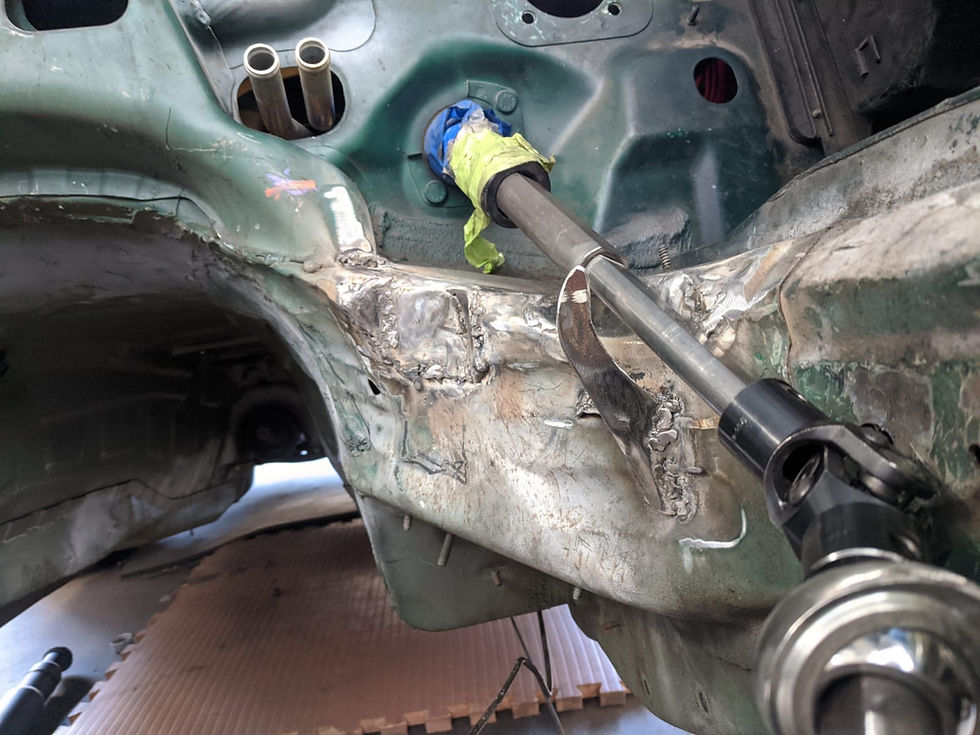
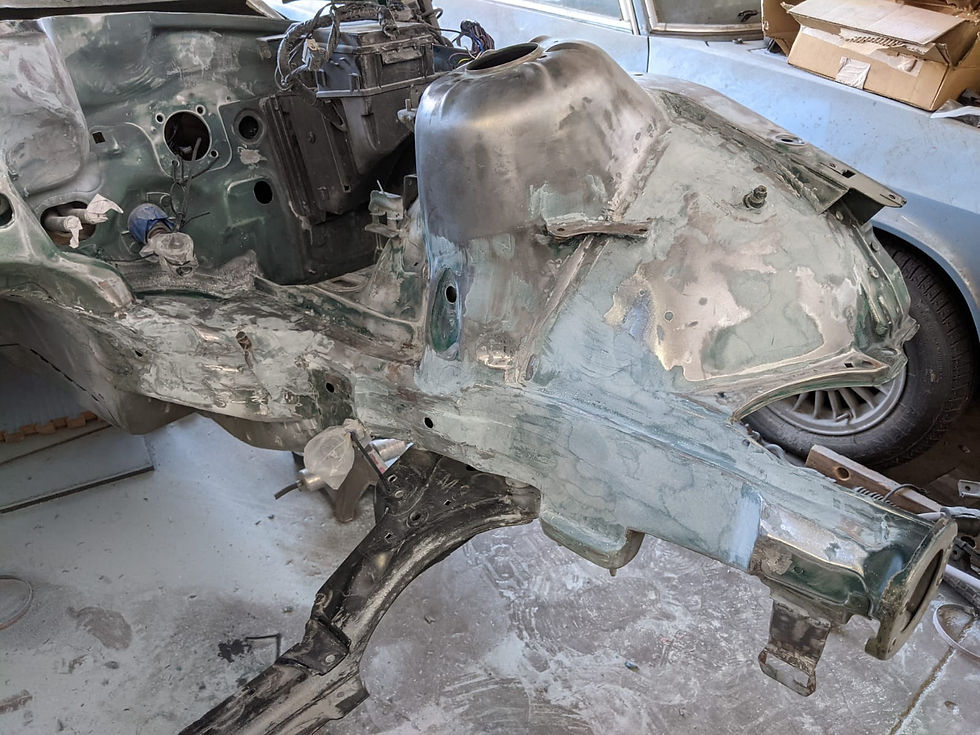
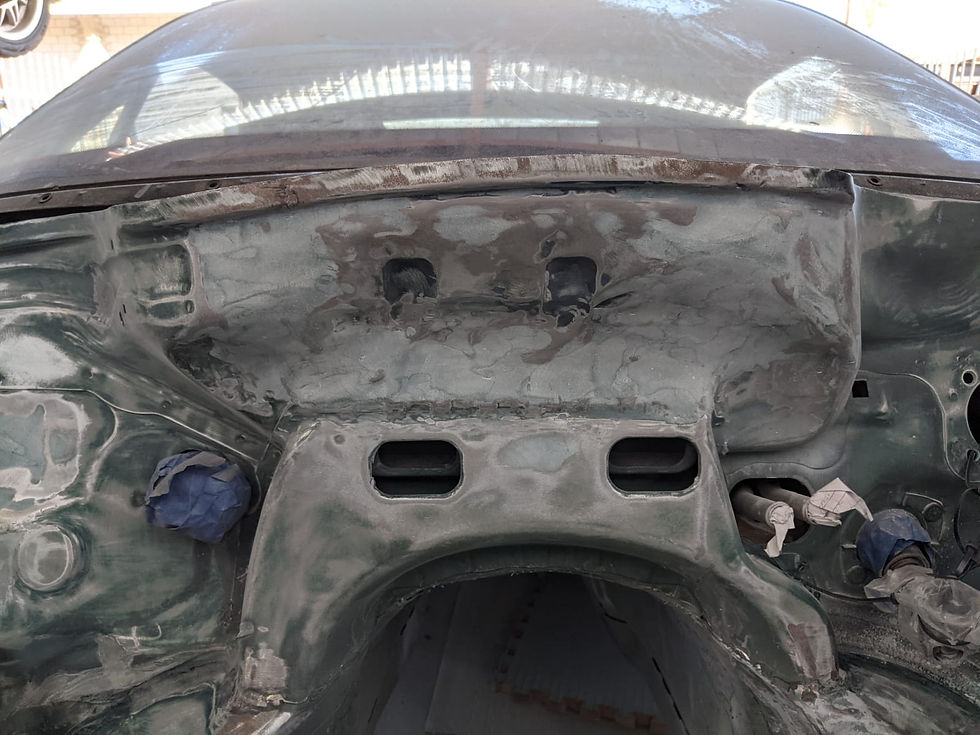
Then I needed to create a little safety mechanism around the steering shaft just in case the engine did rotate enough to hit the shaft. This would not be as much of a consideration if I was going with poly or solid engine/trans mounts but I want to keep the rubber mounts so I need to account for long-term use and how it may operate with failed engine mounts or absolute worst case, with failed engine support arms
I was considering a few options including mounting another support bearing here but ultimately decided against that because I was worried that having the protective measure be integrated into the steering shaft would defeat the purpose of having the backup measure, as if the engine hit the support bearing it could damage it and cause the shaft to bind which is what I am trying to avoid. I also started to think about how the system was setup and realized that a second support bearing may make installing the multi-piece shaft impossible. As it is now, it's a little finicky getting everything lined up. So that also ruled out a wider diameter "cage" that went around the full circumference
Another consideration was that if the engine hit the protective measure with enough force (if an engine support arm or something failed) I was worried about it deforming the protective barrier "into" the shaft which again would cause binding. So I wanted to make sure that it would deform out of the way of the shaft. So I eventually settled on this little finger design. It's a little rudimentary but it's gusseted in the rear and quite strong for what it is. I will also likely create a little "pad" on the top of the finger, with either a rubber pad, or some sort of material that would detect if the engine ever actually contacted it. I was thinking of taping a small light bulb to the tip of the finger and just driving the crap out of it to see if in normal driving it'd ever hit the "finger"
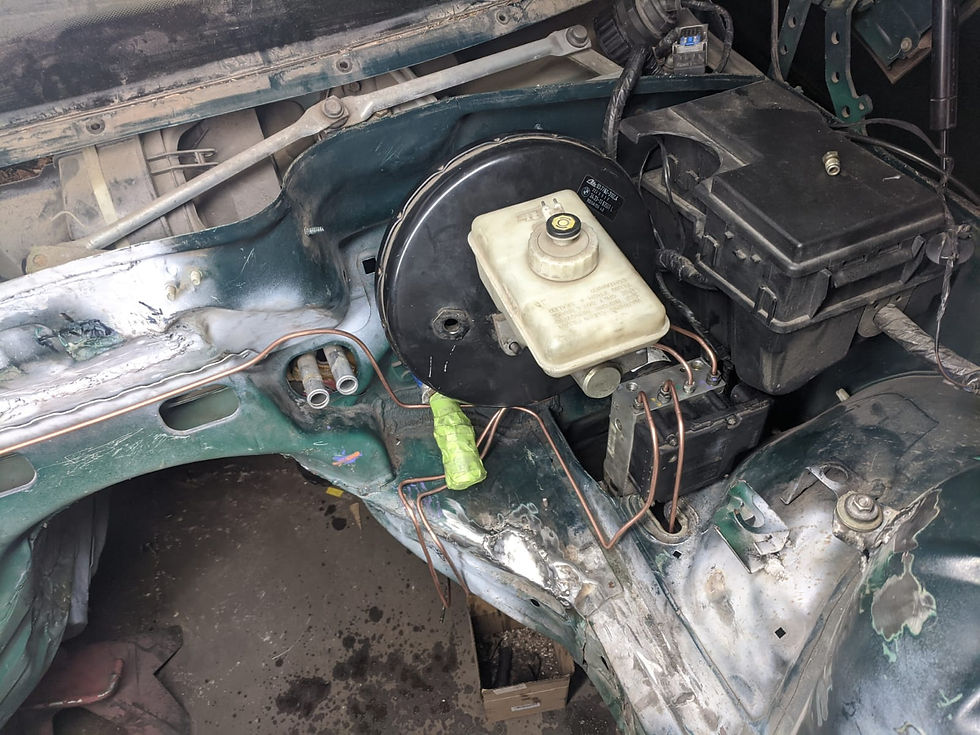
The support bearing was also gusseted in at this point
The "finger"
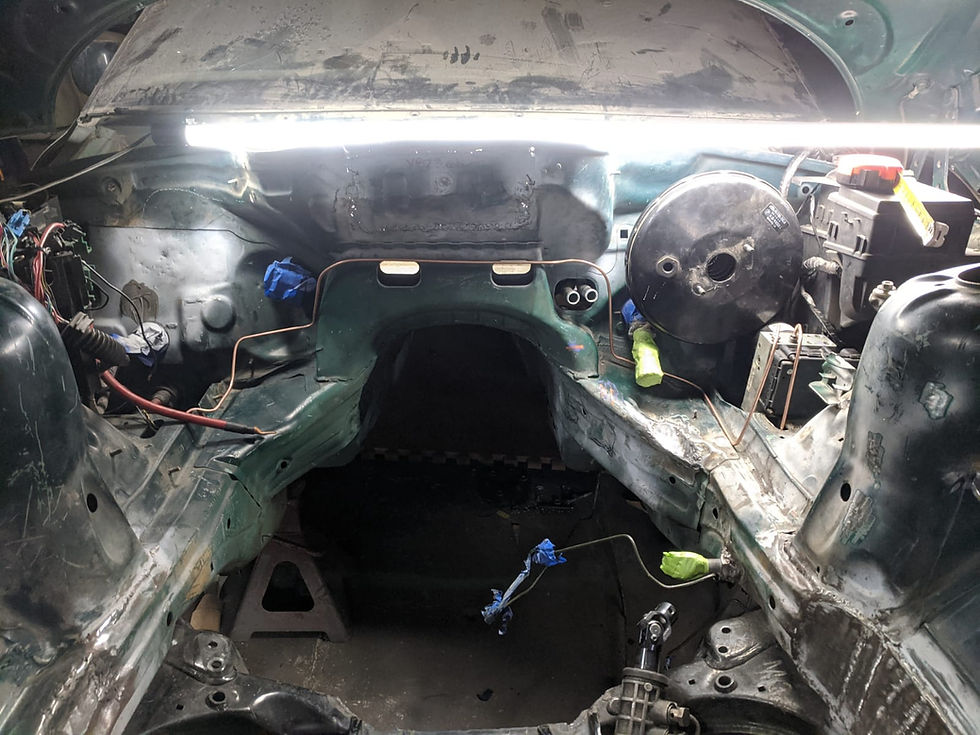
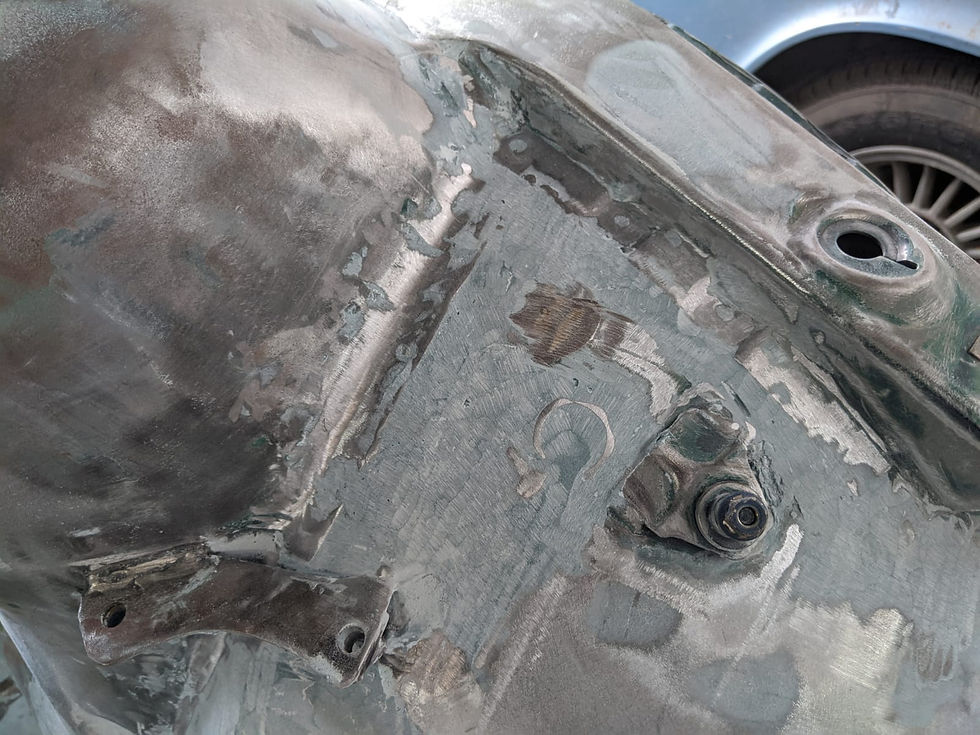
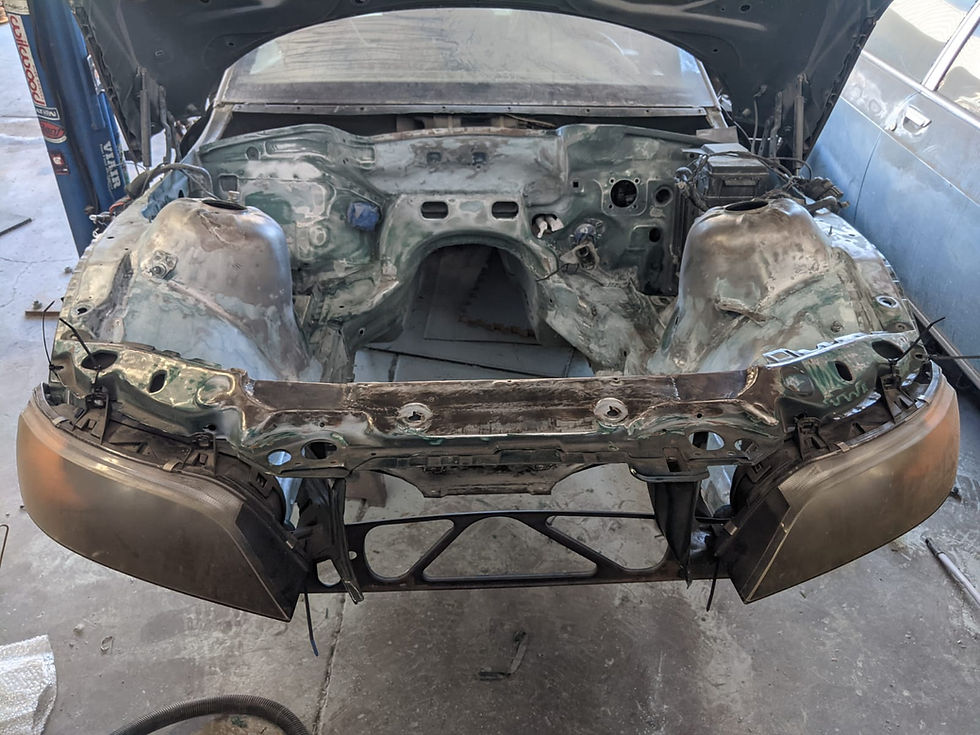
It's pretty ugly right now and at this point I am no longer priming over the metalwork because the next step is painting it and the primer I have on hand is not the same one I will be using for the final job so all the previous primer will be getting sanded off anyways
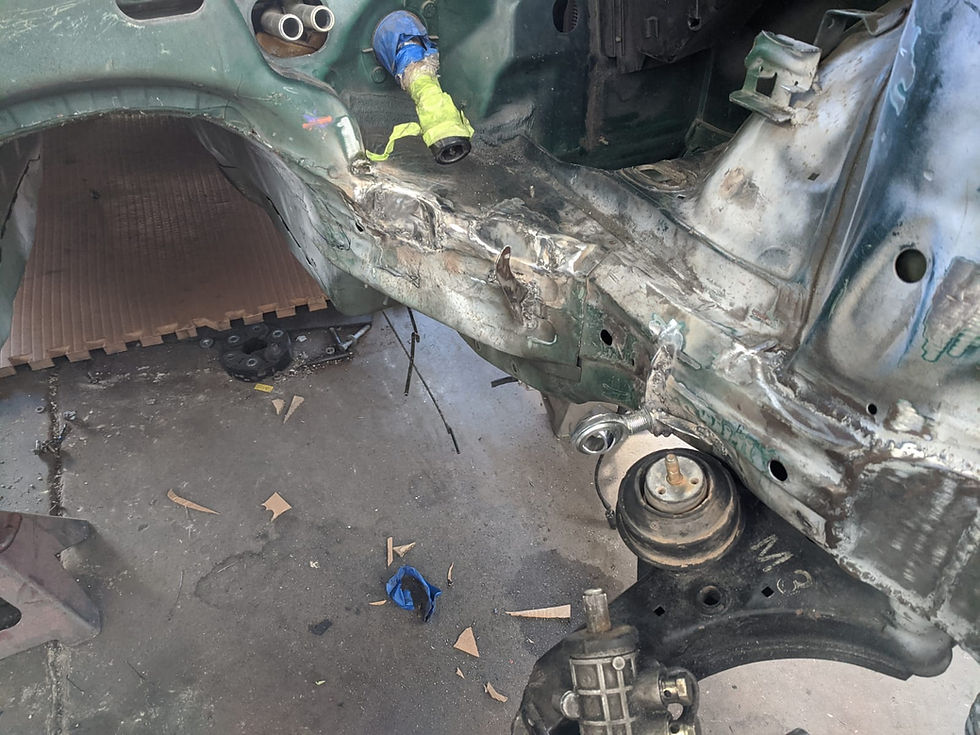
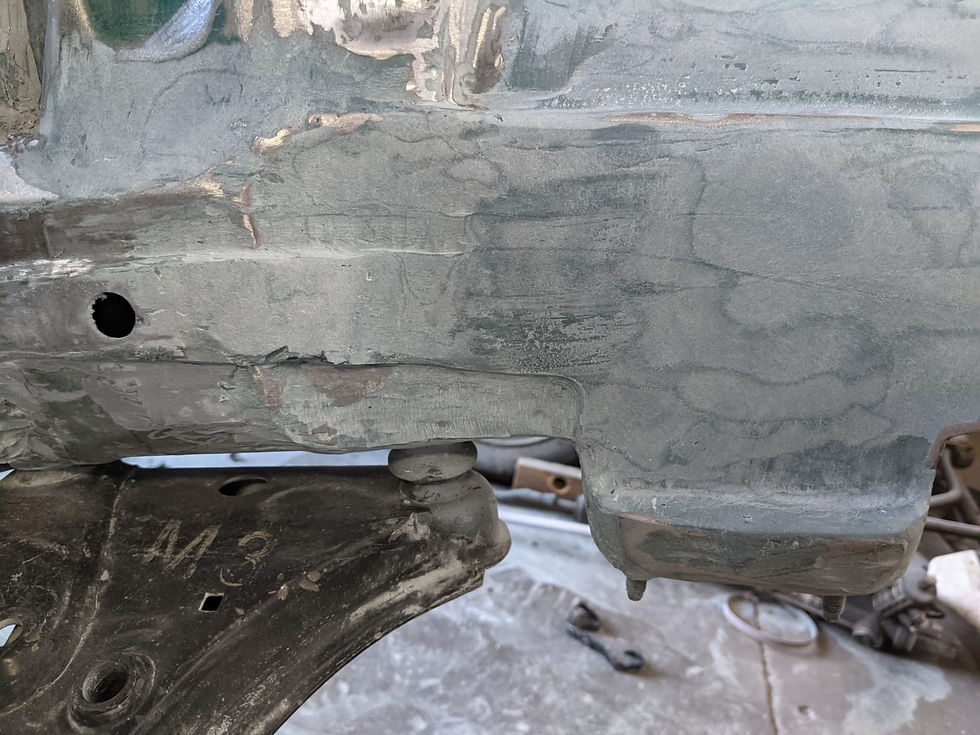
I did not photograph it but I also went around and drilled a few holes in predetermined locations, so when I run the brake lines I have places to install the clips. I then test fit the engine again without any engine mount at all on the driver's side (I tried it without mounts on both sides and the fitment was tighter this way, so I worked with it like this) to ensure the protective "finger" would work as intended

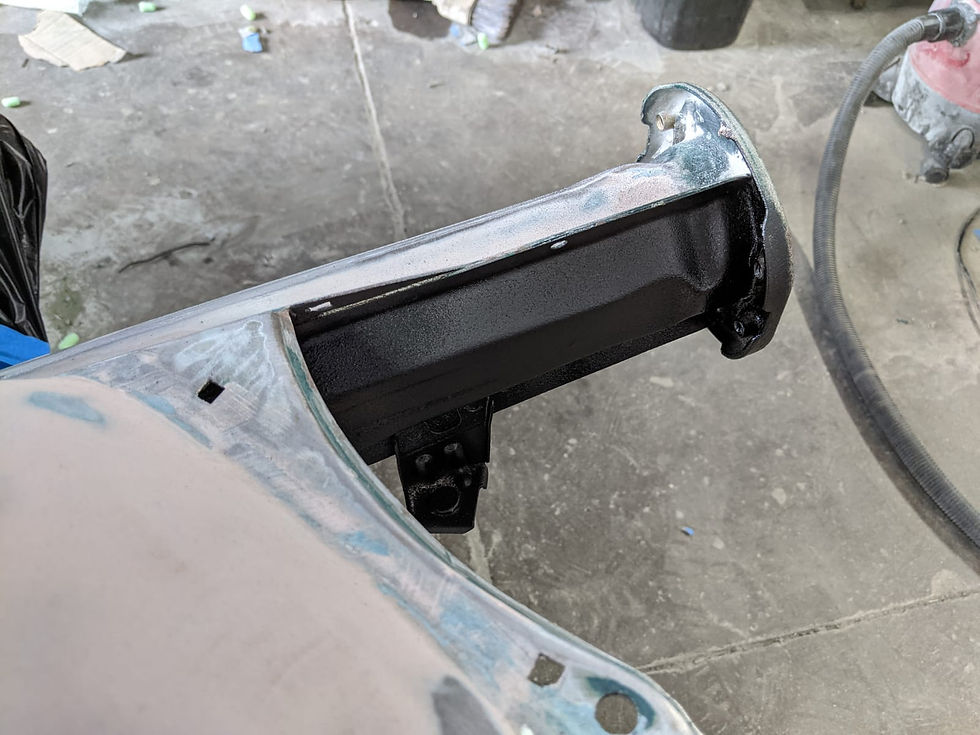
It's keeping the headers off the support bearing
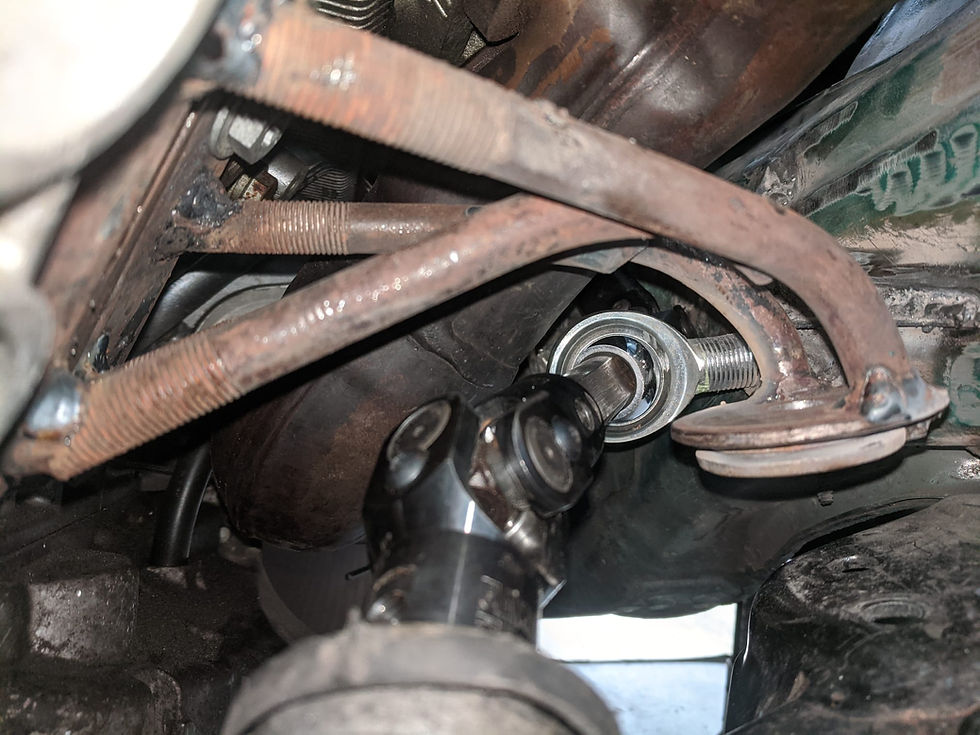
It was sitting at a weird angle at where it contacts the header though

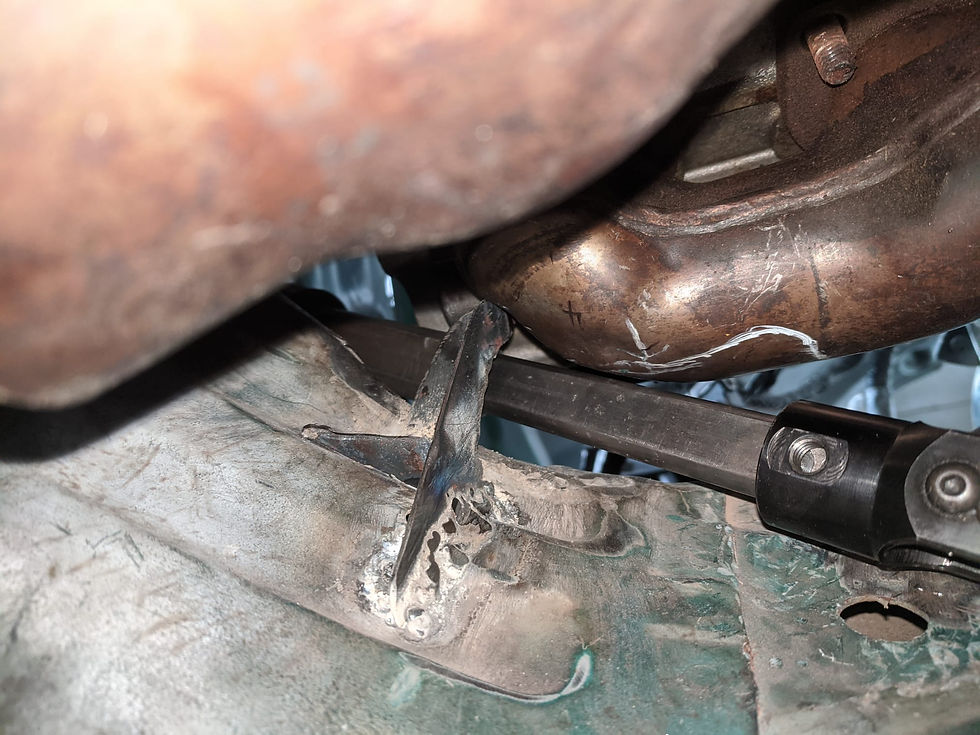
So I took some measurements and ended up adding another little bit onto the "finger" - it now has a threaded end with a flat contact surface. This will also allow a little flexibility if I change anything down the road

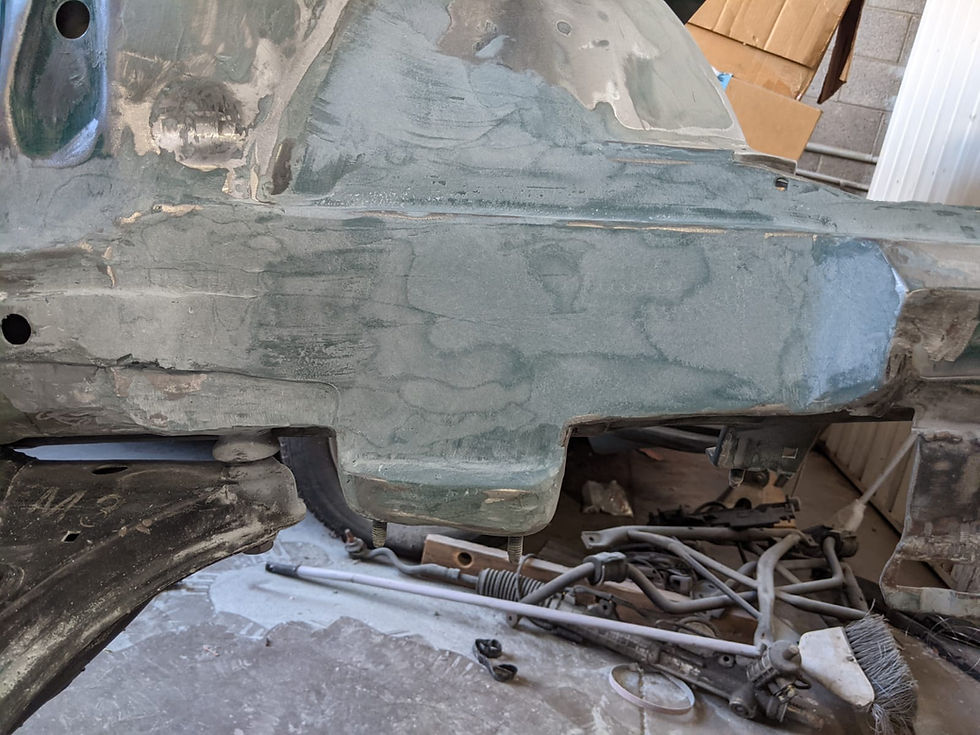
Here is the engine steering without any driver's side engine mount installed, to illustrate a "worst case scenario" - it still steers freely and I still have to add another failsafe (the rubber stopper on the x-brace)
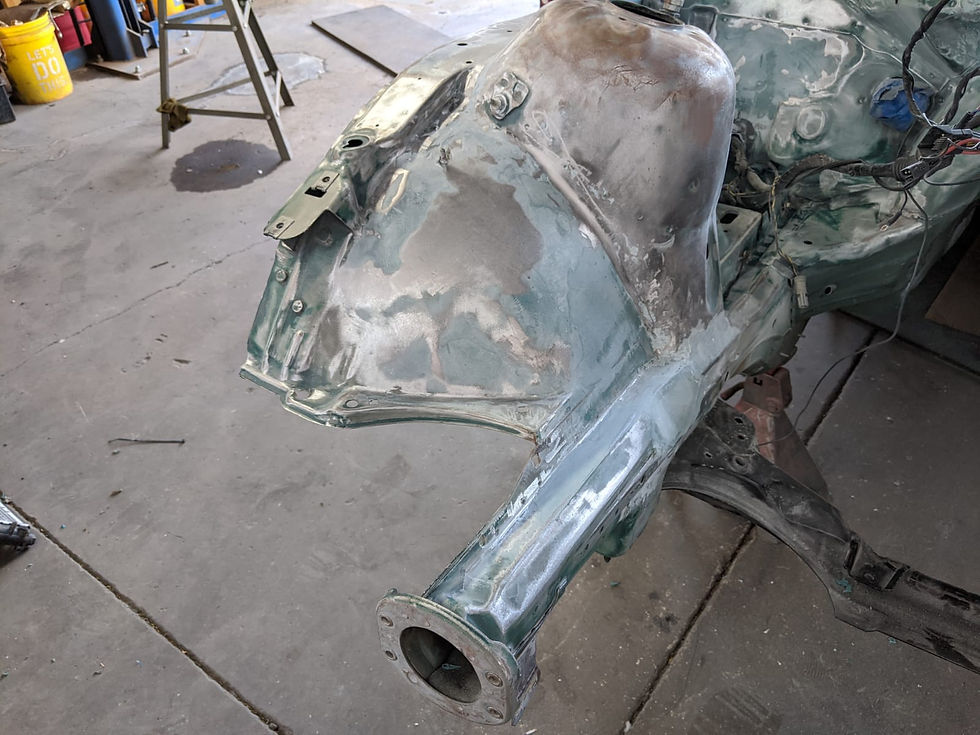
Hopefully this is the ugliest things will ever be! I honestly really don't like how it looks right now at all but the next step is cleaning up my ugly welds
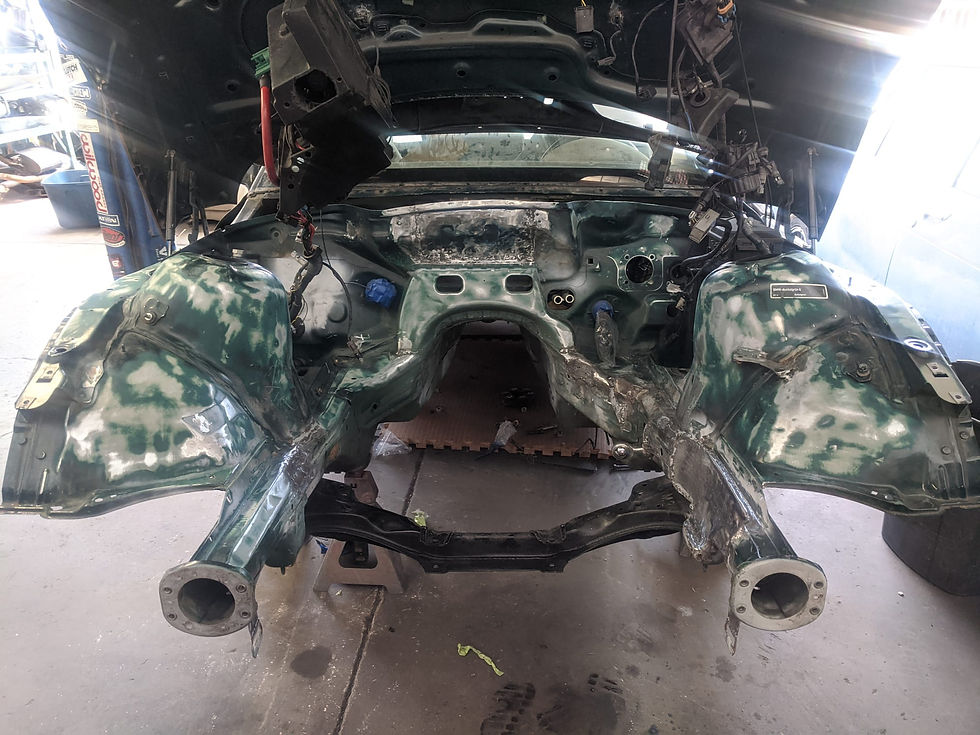
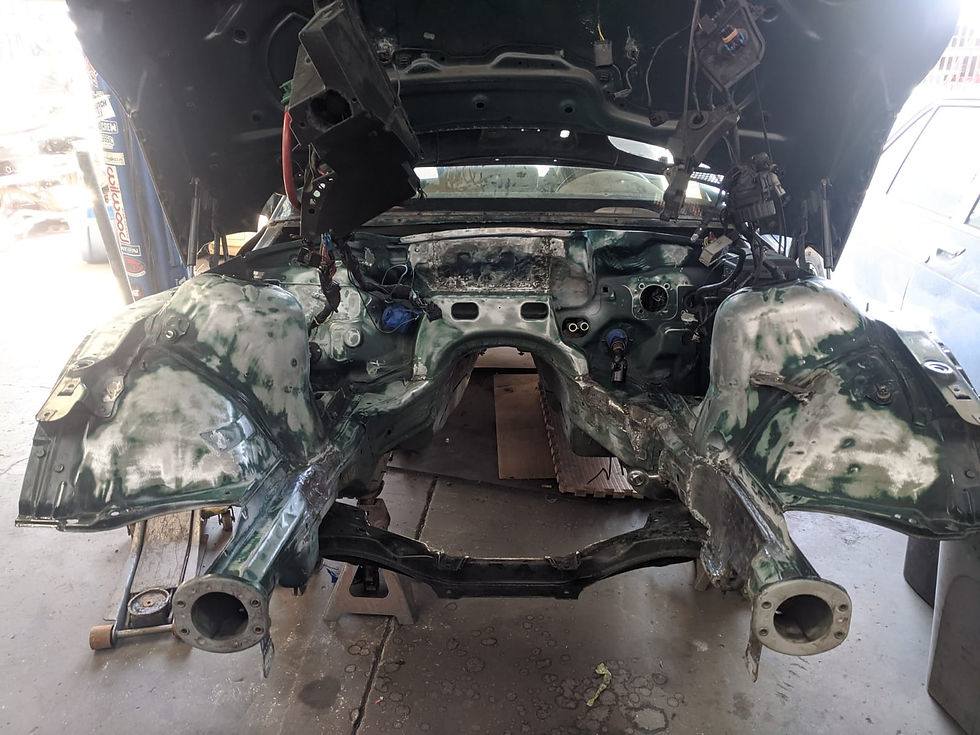
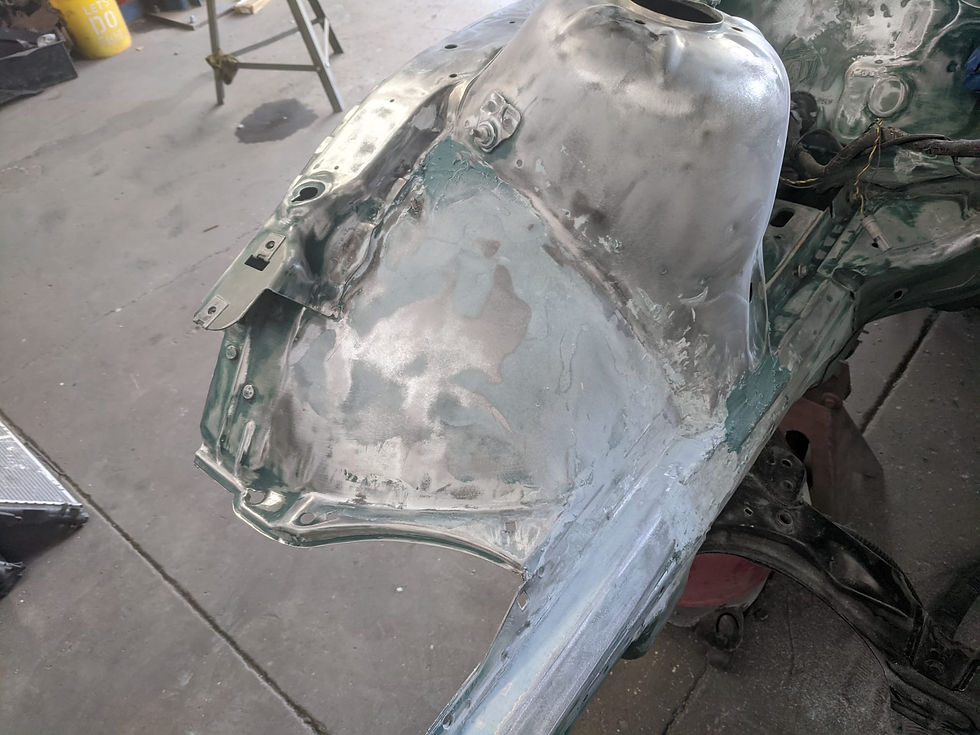
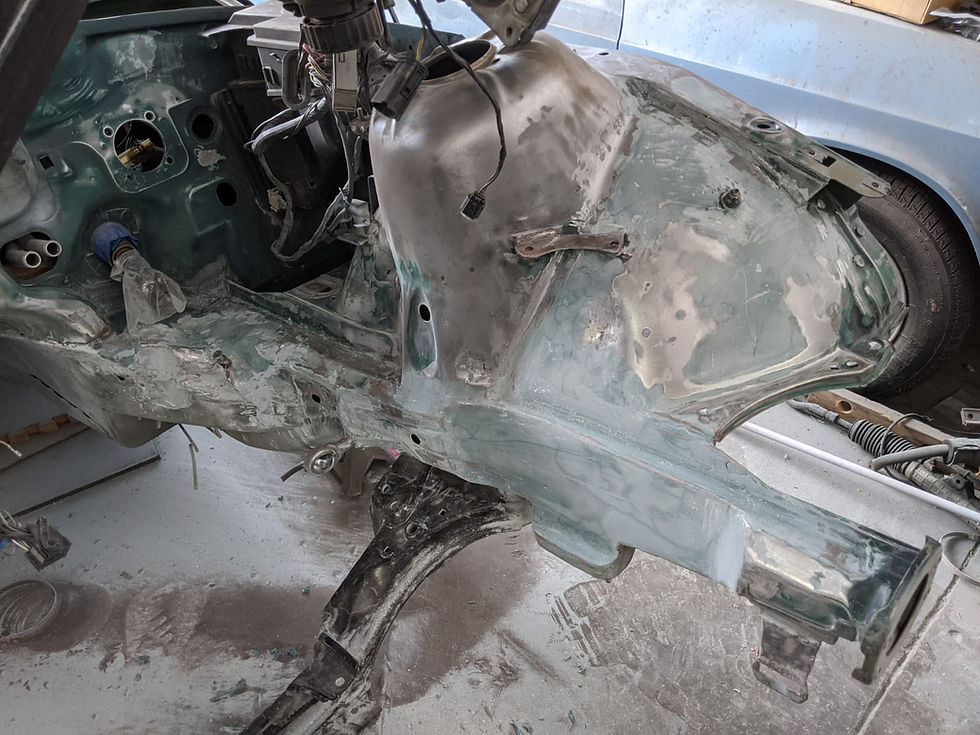
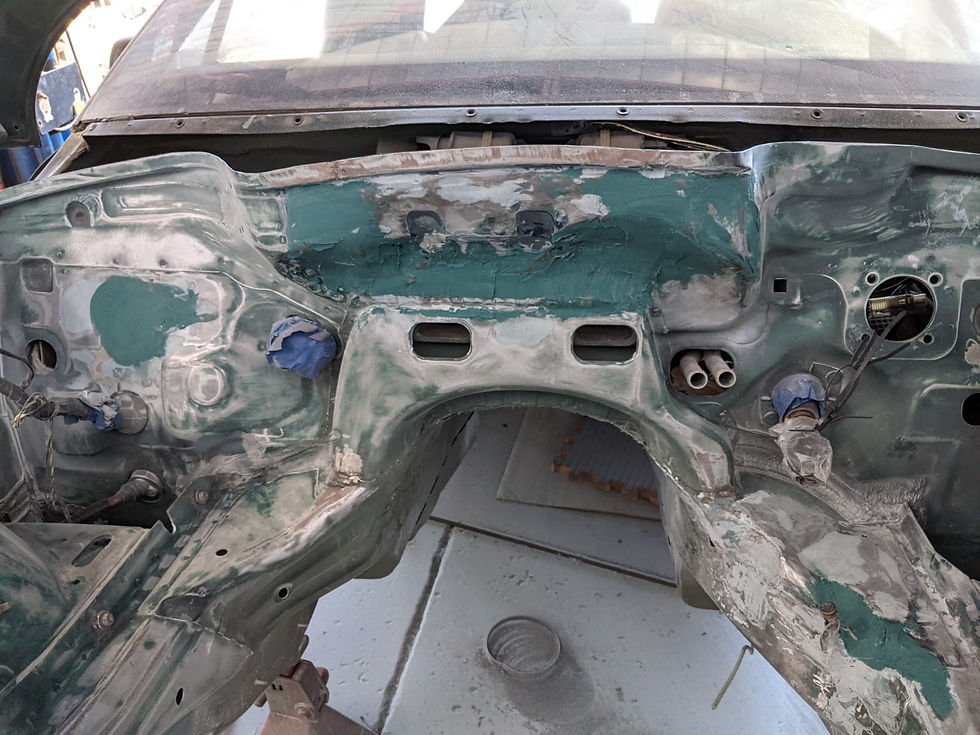
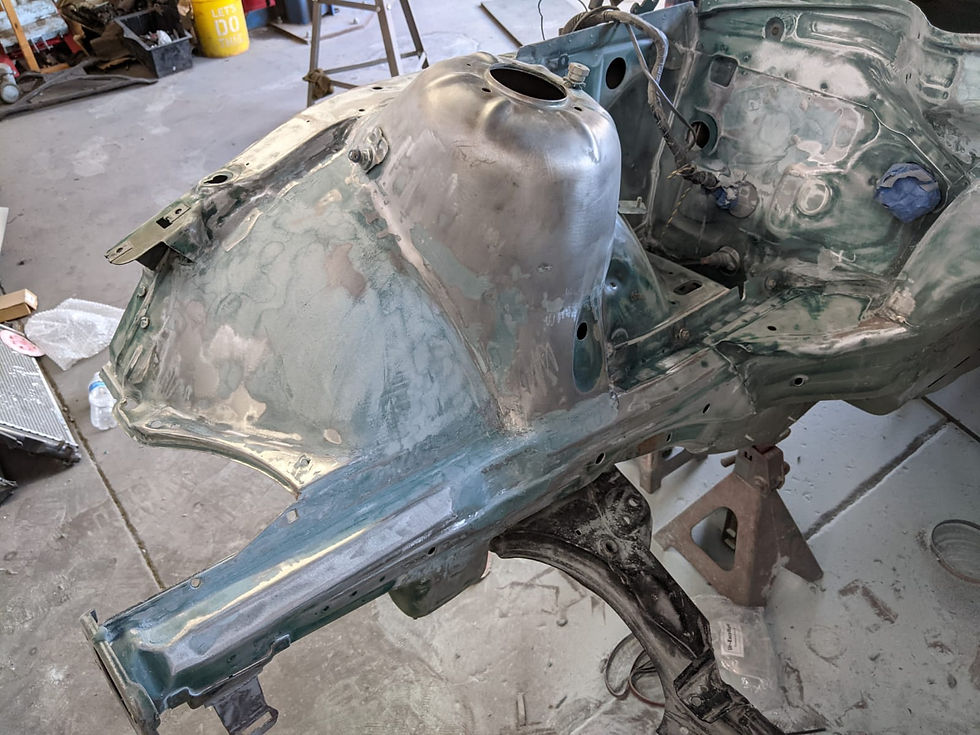
I started that process by working on the alternator pocket. It's still got a long way to go... this is going to be a very tedious process

I think the firewall area alone will be as much work as pretty much all the other stuff but I'm just gonna start digging into it

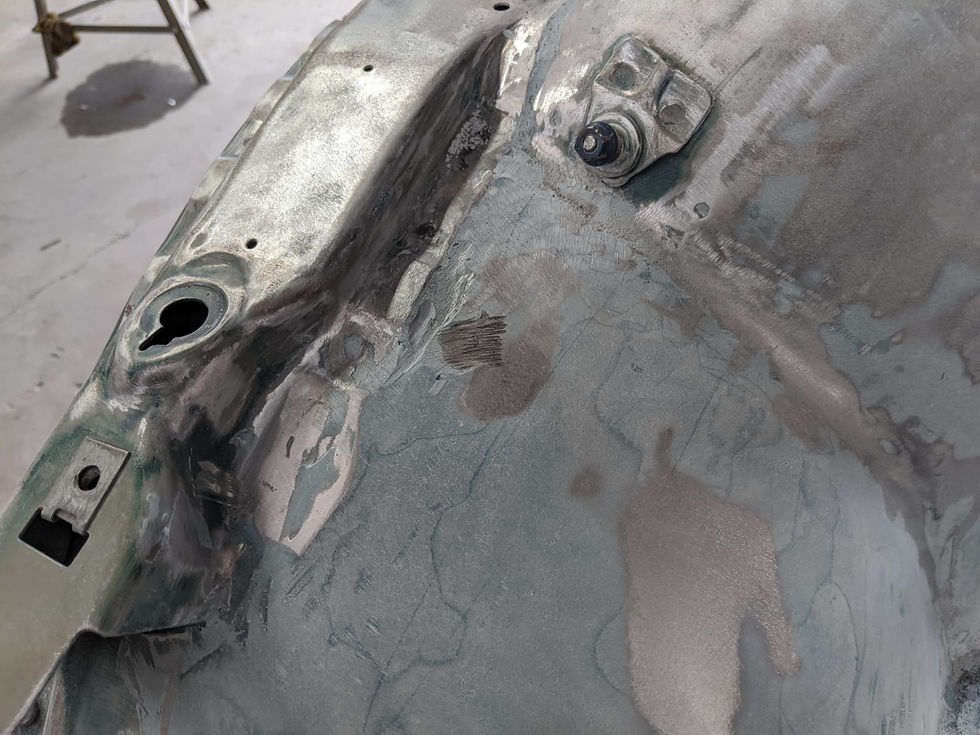
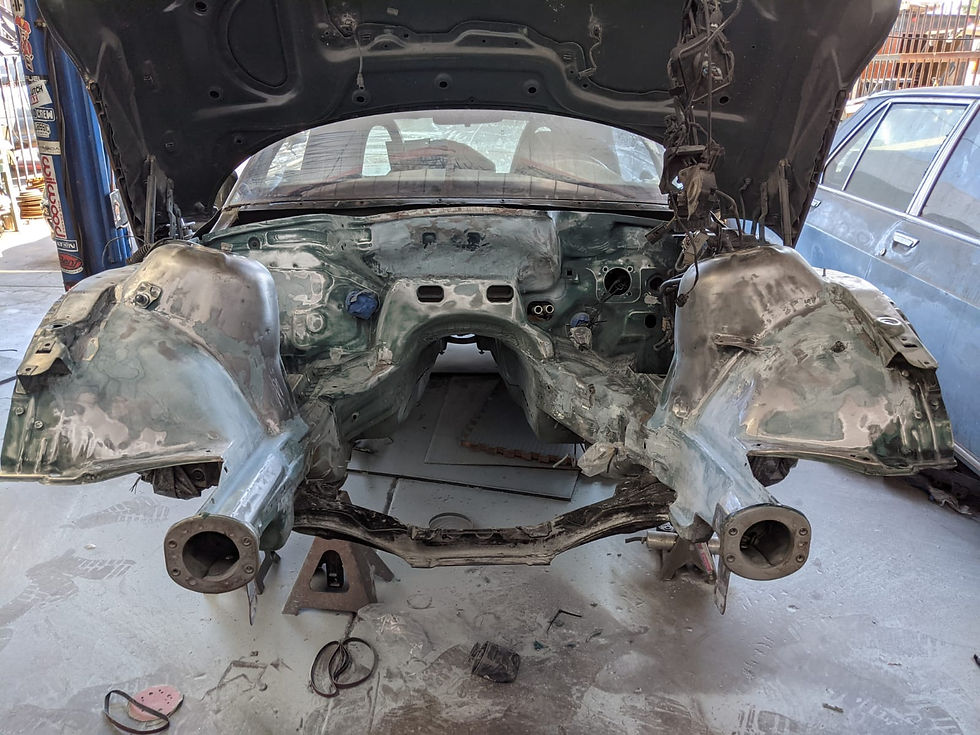
First step was to remove the ugly previous attempt at patching the area and cut a new section from a parts car

After some trimming this is where it sat. There were some gaps as you moved further away from the top since I had to clearance it a bit to hammer. This would cause some small gaps later on but I was able to use some pry bars and a hammer to leverage most of it together

There was minimal to no gap on the sides for the most part, but the bottom there was a sligt gap that needed to be filled. I also cut off the piece at an angle to try to give it a bit of a "V" for the weld to sit, though with how thin this metal is that didn't seem to do a lot
The main difficulty here was ensuring the mounting point of the wiper arm assembly would stay intact because the metalwork it bolts to was further rearward due to clearance issues. I did have to relocate the wiper arm's mount location - I just added a second hole on the stock bracket and a rivnut (after painting the bracket for rustproofing). The cowl also required some modification to fit. I ended up sourcing one from a later model Z3, as they have little resting pads for the wipers and also what looks like this little aerodynamic feature. I don't entirely know what its for but I liked it
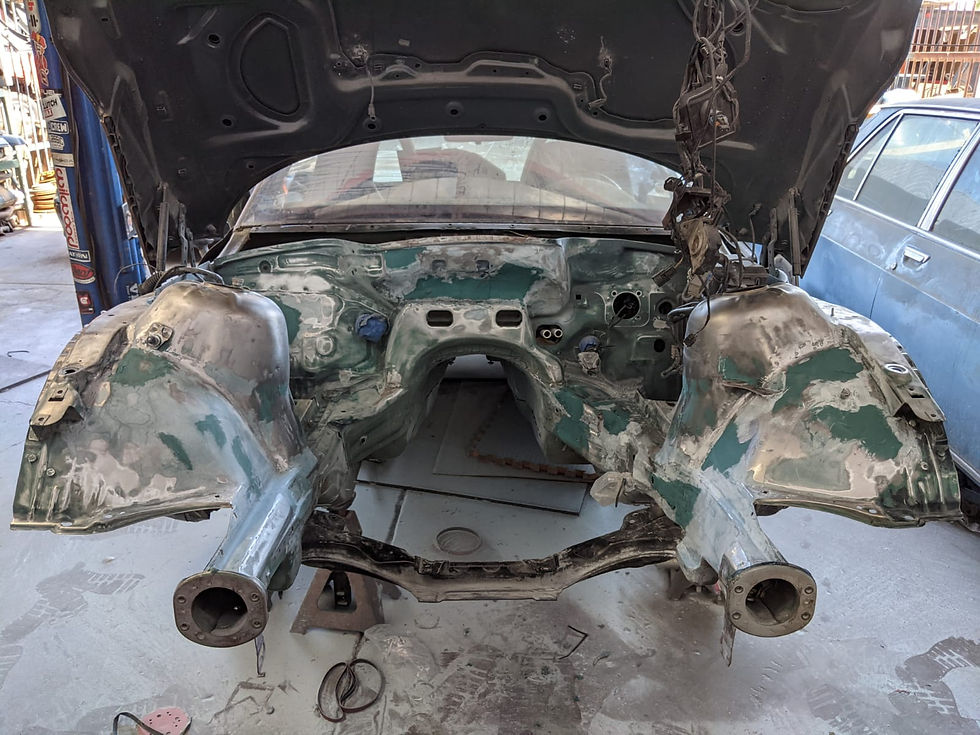
At this point I had only began to grind down the top left area but the results are a lot better than the previous attempt
I think I may put some gold tape on the lower section and leave the top area painted. I will also note, it looks like there are some stray welds but those were threaded studs I removed as I will not be needing them. The front face was grinded in that large patch because the VIN from the parts car was on there and it obviously doesn't match the VIN from my car
After some more grinding...

Then some sanding
More sanding
Removed the seam sealer

Wire wheel made quick work of it, really wasn't that bad

Scraping it off in the corners the wire wheel didn't reach

A lot of it peeled up cleanly too (another area the wire wheel wouldn't reach)

About ready for more sanding

I seam welded the strut towers at a few places...

And eventually I started fiberglassing. This is a very tedious process. I am still deciding where exactly I will seam seal and what edges I want totally "shaved" but my main focus cosmetically is going to be the strut towers forward and the firewall area
This is also going to use more fiberglass than I anticipated... I didn't really account for how much had to be applied so that it could be sanded smooth

Of course I still have quite a way to go on this side, but it's getting there. A lot of time has been spent shaping the cutout to try to make it look good

I've worked a little bit on the firewall at this point too but I don't think you can see it

This process is as tedious as it is unrewarding
Apply fiberglass


Sand fiberglass

I also decided to shape this area to match the body line, I just thought it would look nicer that way. The cutout area is going to get another layer of fiberglass, I needed to know how deep the metal was but otherwise this side is looking good

I ended up cutting these studs off as they weren't needed and they made it really difficult to sand everything
Then more fiberglass and more sanding

At this point the passenger side is done


The driver's side will need a bit more work and then the focus will be on the firewall
Lots of sanding. This is what it looks like walking into my shop these days
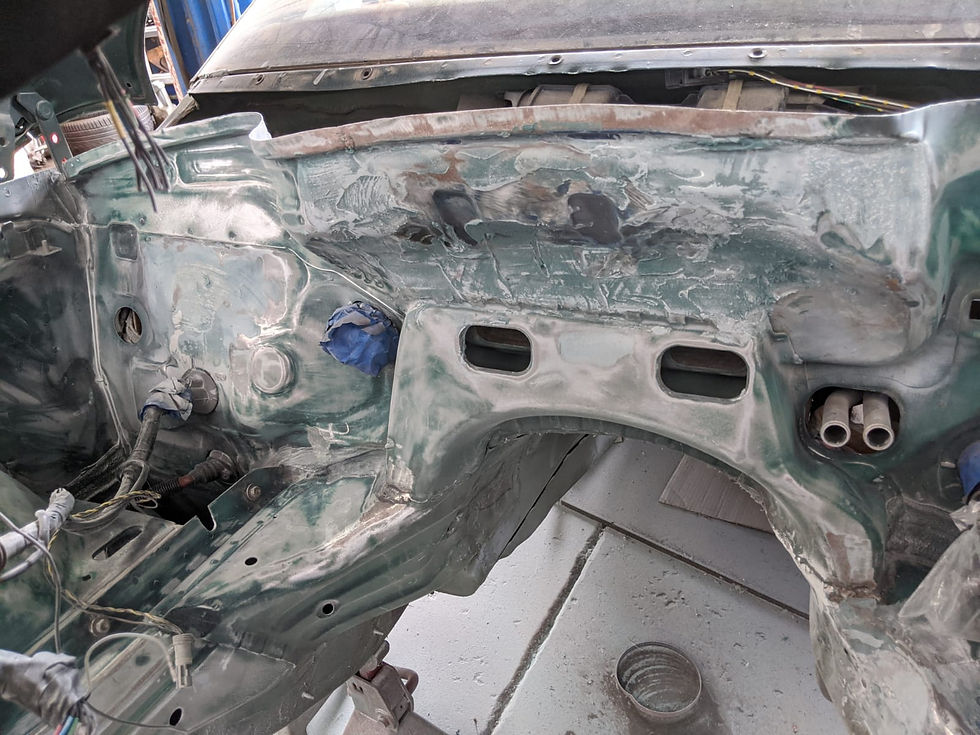
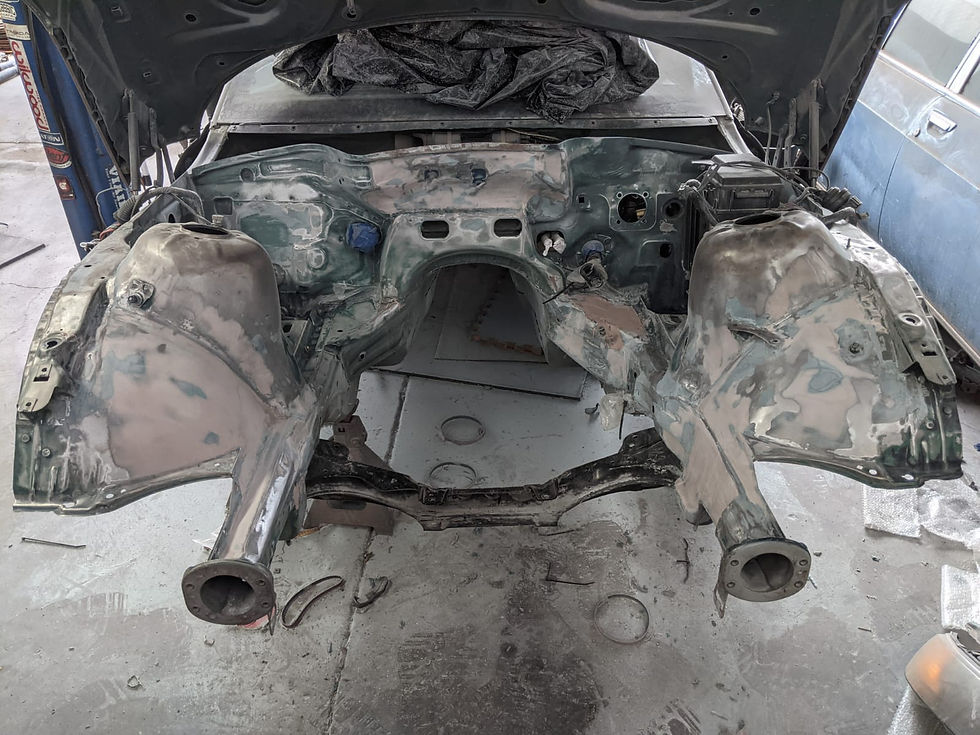
The next day I worked on the car I started off by sanding the firewall a bit then applied some fiberglass


Then more sanding. Then more fiberglass

This area is going to need a lot of special attention
Driver's side shock tower is basically done at this point

Passenger side is almost done after receiving a bit more touchup

Trying to work this area into something somewhat presentable

More fiberglass on the firewall portion...

All sanded back


Everything is just about finished at this point, I will be doing a little more work in the alternator cutout though - I started carrying the body line through into it a bit and just trying to find a neat way to blend it all in


After the last little bit of fiberglass work is finished the next step will be applying a thin layer of bondo over all the fiberglassed areas then applying the seam sealer and then finally on to primer and paint
Part of finishing the fiberglass work was finishing the alternator cutout so thats what I worked on next. It will get just a bit more tweaking from here but overall it is looking much better now


Then I bent some brake lines after applying some more fiberglass. I wanted to have these bent and ready to go before paint, as I was worried that bending them and mocking them up would scratch the fresh paint


I bent the other brake lines at this point but forgot to photograph them for some reason
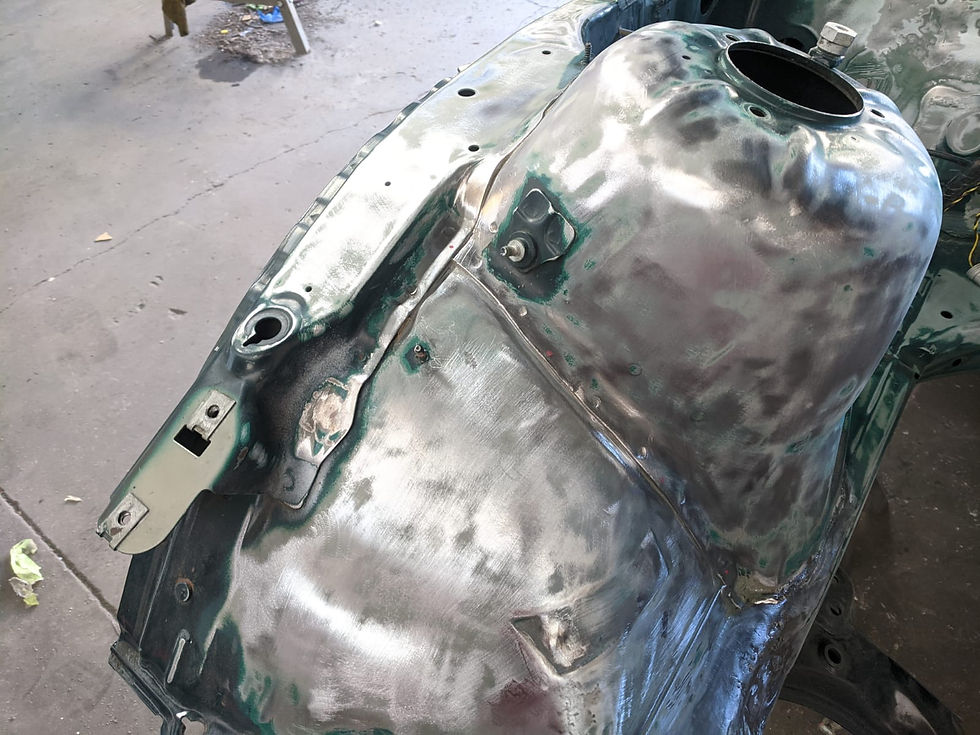
By the time I got to the radiator support it had accumulated a bit of surface rust so the first step was to clean it before applying fiberglass and once again sanding

This was the first application of fiberglass which was sanded back then a second layer applied
All the areas have been gone over at this point and the last step will be some final shaping before applying bondo and finally getting to paint it

I ended up applying another few layers of fiberglass before finally moving onto the bondo filler to try to make sure I had the best "foundation" possible. Once I was finally done with that though, this was the first application of the filler. Took a bit to get used to working with
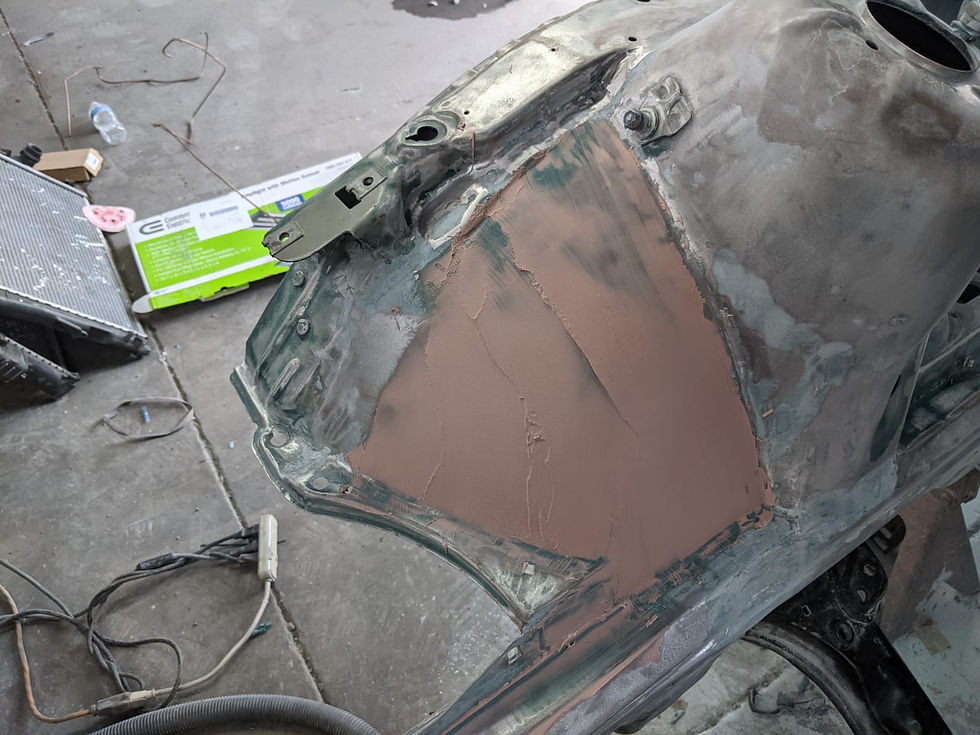
After a few more layers were applied and sanded back...
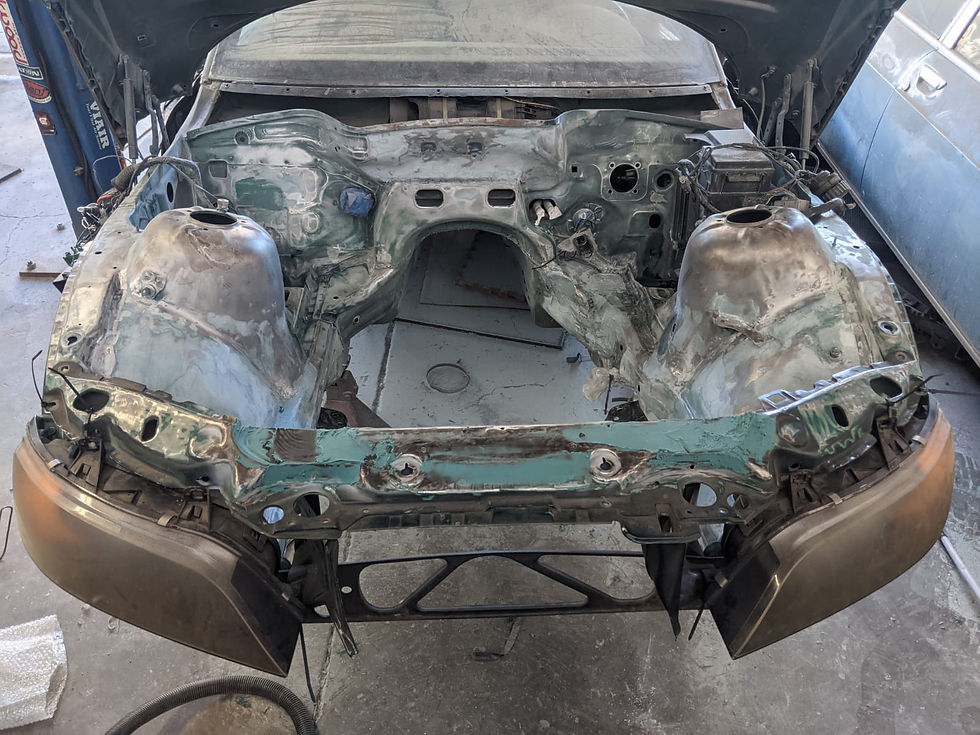
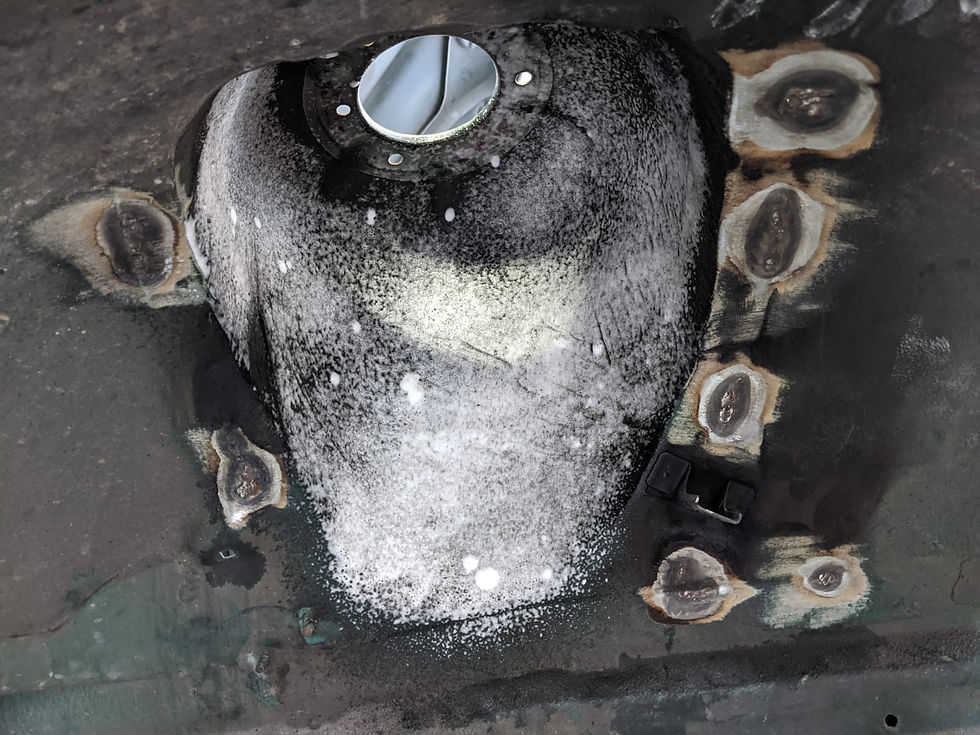
In preparation of painting the fender wells I used a prep spray foam to clean the area, this shows one of many treatments. I also hit the welds with a wire wheel and feathered out the factory rubber coating as best I could in order to allow for as even a coating to be applied as possible

Next time I worked on the car my frame coating had finally arrived, so I went ahead and applied it. The videos of how to use it show them going in and out, in and out, so thats what I did from all the frame holes surrounding the modifications I made, focusing especially on the driver's side which had multiple areas modified. I had just a little bit left at the end so I went straight in from the front of the frame rail to get some coverage in that area

With a flashlight you can see in and tell that everything has been coated
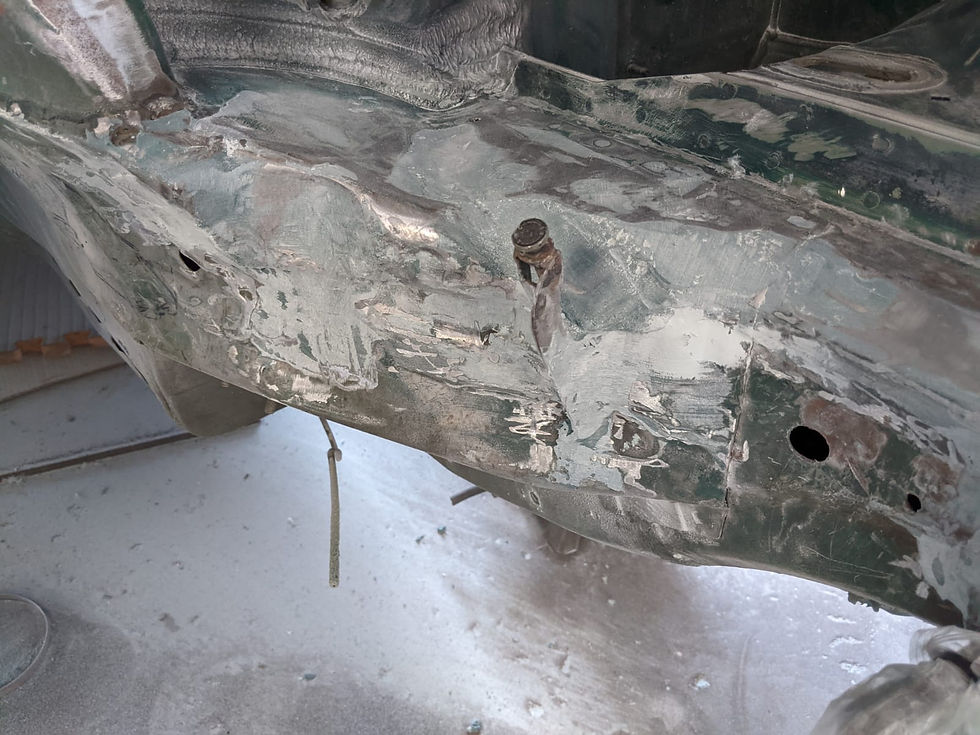
Next I decided to treat the rest of the exposed welds, starting with the fender wells. The opposite side from where I stitch welded had burned the undercoating and left an exposed weld. I sprayed these with a rust converter product, which turned black once cured. It converts any existing rust into... something that isn't rust (I don't pretend to know how those things work) and also provides long-term protection
While it was curing I went to work on the seam sealer, masking everything off as I had seen others do when doing this step. I didn't quite understand why people did this when watching people use it but after using it myself... it makes total sense. This stuff is messy. I didn't achieve a "brushed" finish like factory, but after working with it I understand how I could achieve that result in the future. This was my first time ever applying seam sealer

I don't know if I mentioned it, but I ended up sanding back a lot of material off the upper area of the fenders. I was at one point filling it with fiberglass to achieve a smooth look but the uneven piece of metal it mates to started to mean I was using more fiberglass than I wanted. So I sanded the upper edge back to metal, new round of fiberglass and filler then when finished I used seam sealer on that upper edge instead

Little messy like I said but whatever
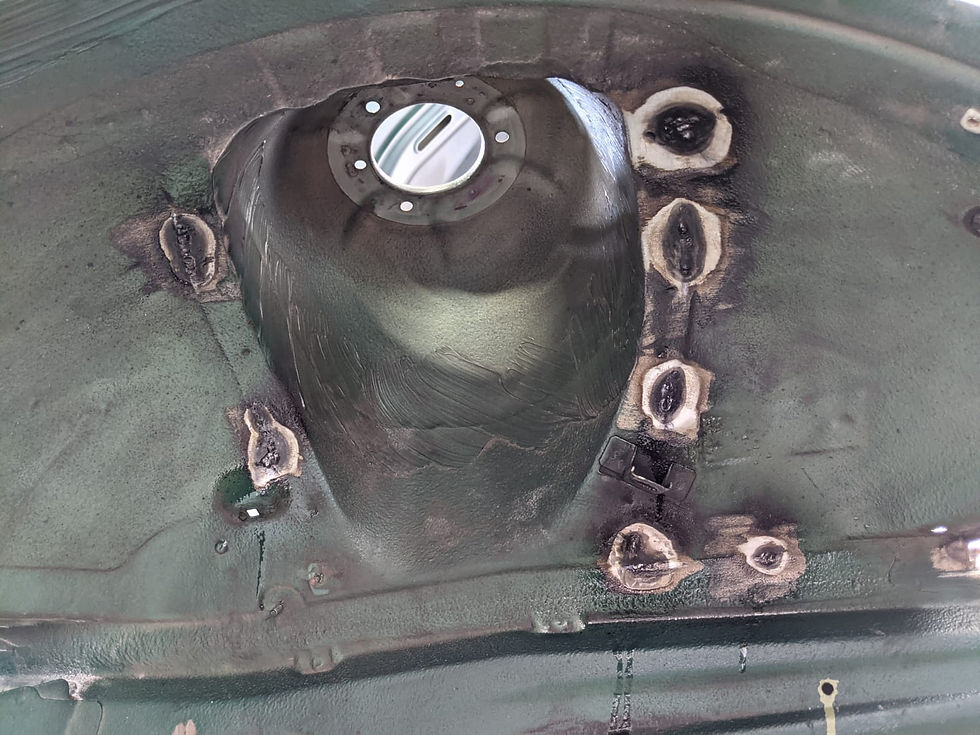
Next I sprayed the fender wells in undercoating, I think it came out great. You can still see the back of the welds but the rust treatment should keep them protected in the event the rubber coating gets scratched or anything. In the future were I to do this again I'd take the extra step of applying some fiberglass over these welds and probably spend the few minutes to remove all the factory undercoating in order to get a more consistent finish. It still looks pretty good overall though as it is

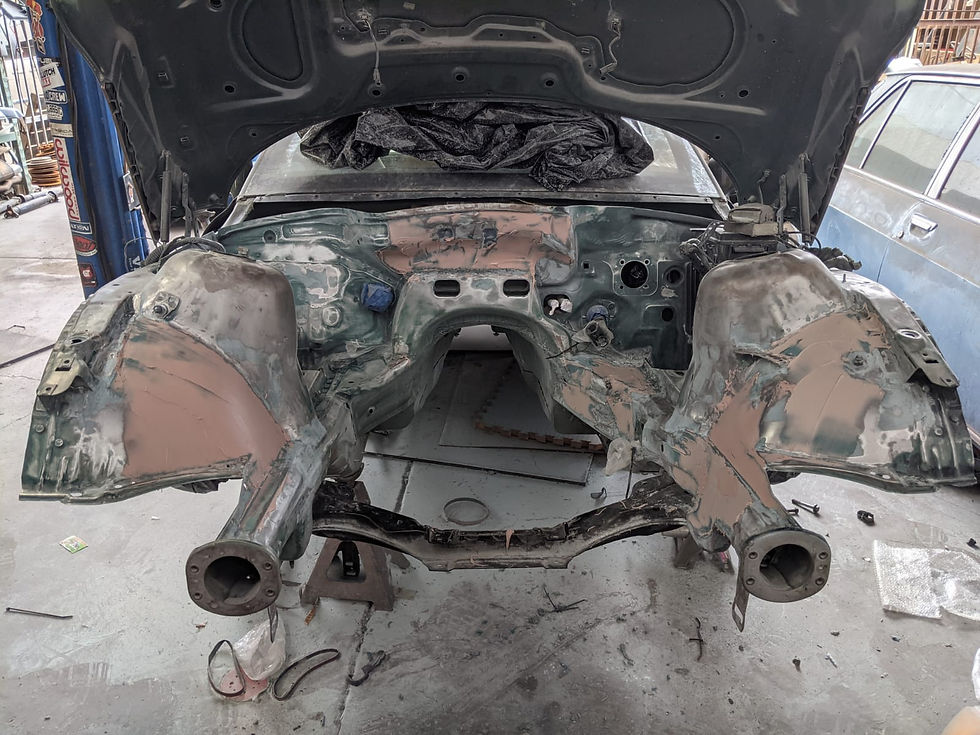
The engine bay was then gone over with red scotchbrites

And in the next part the engine bay finally gets some primer and paint!


Comments